Week 5 of the One Room Challenge has now come to a close! With just one week left it was time to get a move on all the last minute details like hanging the artwork. That said this week’s post is all about just that. Before I show you all things art here are the previous week’s posts so you can get caught up:
Week 1 | Week 2 | Week 3 | Week 4
The vibe of the room is very much inspirational and we hope our Airbnb guests feel a sense of calm, positivity, and overall good vibes during their stay!
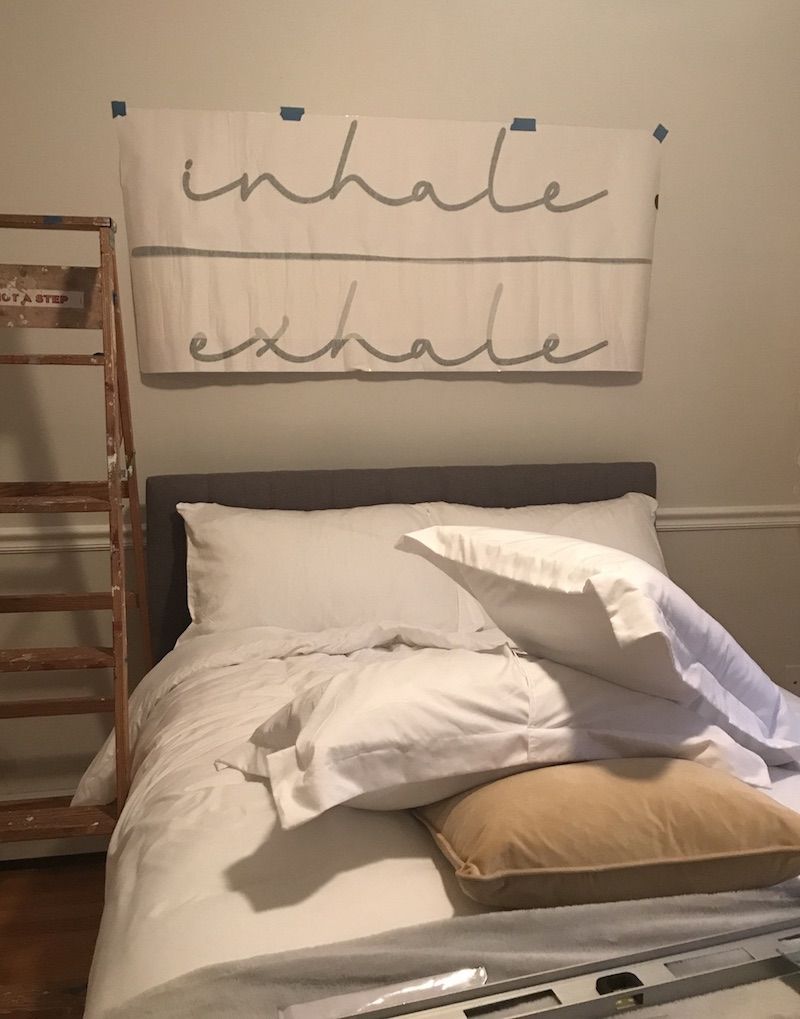
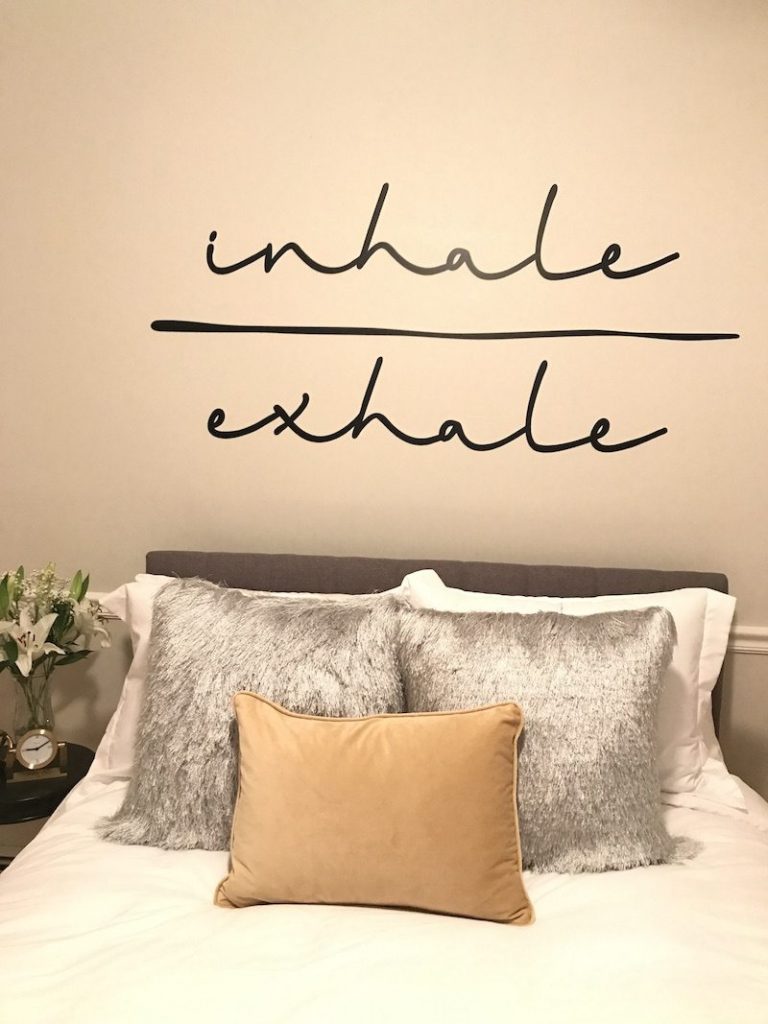
That said first up is the inhale exhale vinyl wall art that I purchased online. I’m in love with how this turned out and it’s actually super easy to install. Click HERE for the product details.
Vinyl Wall Decal Artwork

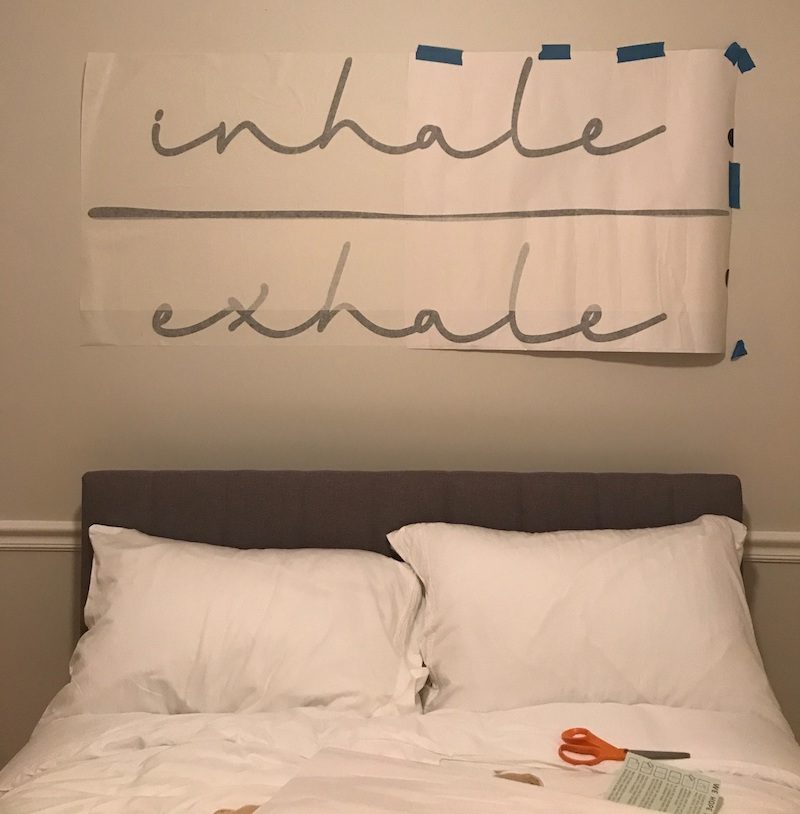
After wiping the wall for any dust or debris I taped the art to the wall where I wanted it to go as shown below. I used a level to make sure it was not crooked.
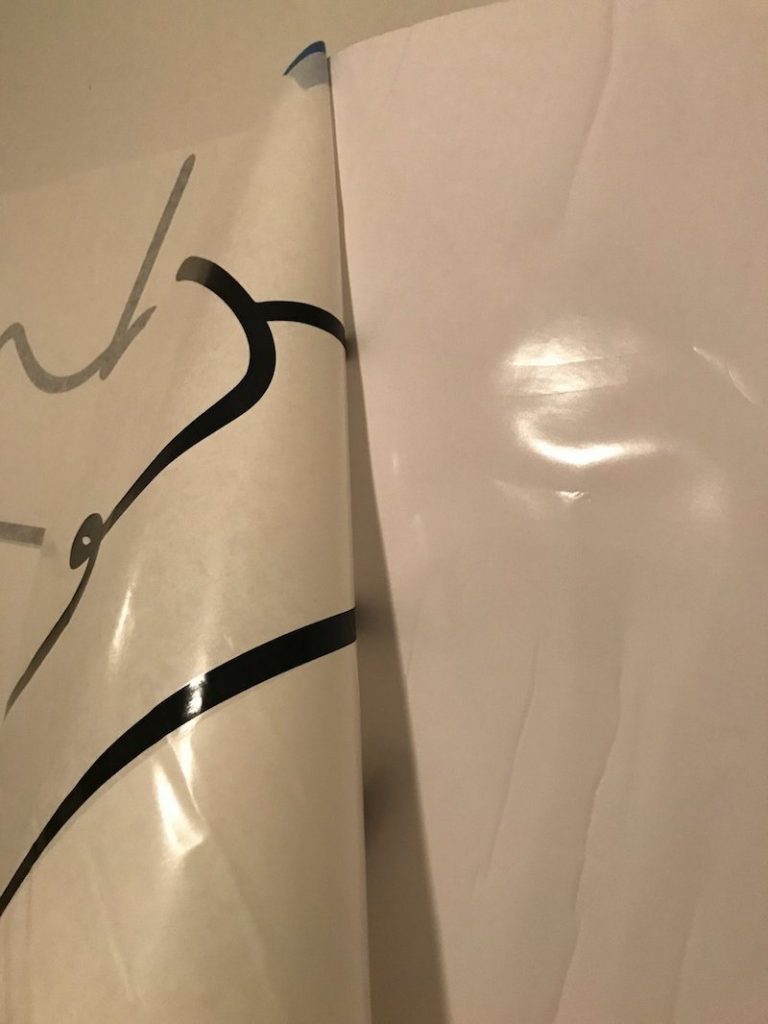
Next half of the backing paper was peeled back and cut away. The left side of the image below has been peeled back. I then smoothed the left side to the wall which has a tacky face that sticks to the wall. In the second image, you can see how it looked when I was peeling off the backing.
The below image has both sides of the backing peeled away and the entire vinyl had been applied to the wall and then smoothed across. The next step is to take a credit card and apply pressure over the black areas of the vinyl so it adheres to the wall and any bubbles are smoothed out.
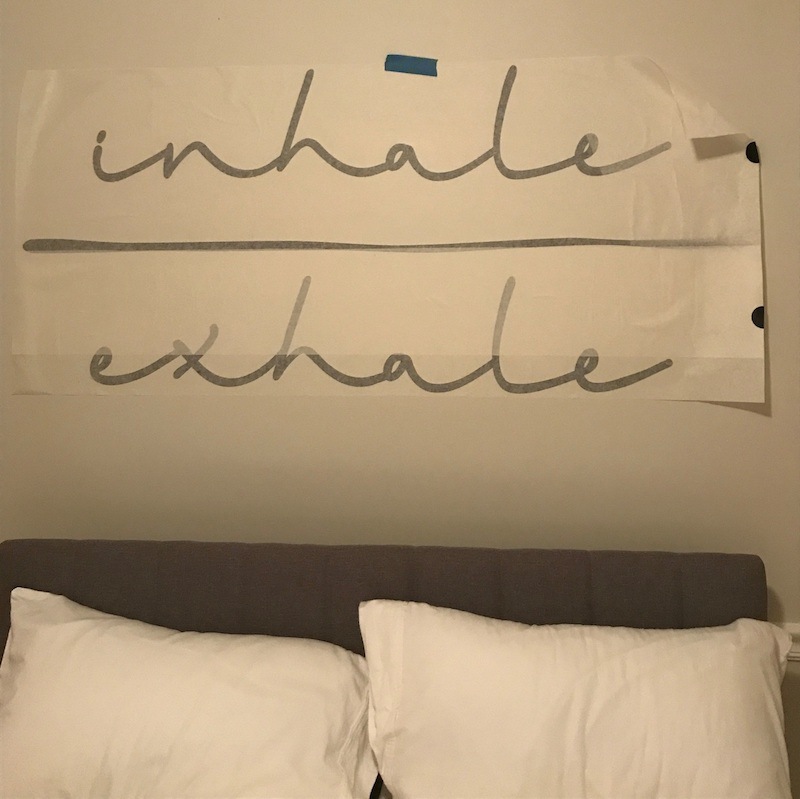
After the vinyl has been smoothed out and checked for any bubbles I then peeled away the top sticky layer pulling it slowly back and away at an angle.


Shown below is the end result which I love!
Gallery Art Wall
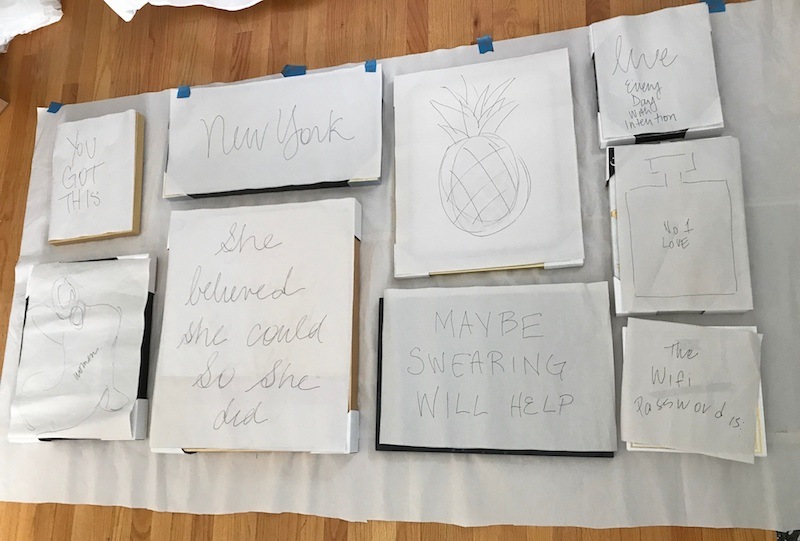
On the wall on the opposite side of the room, I originally planned to get one piece of art for that area but after visiting several HomeGoods and not finding the perfect piece I was left with the option of ordering one online for $300 or using smaller pieces to create a gallery wall. Since I had a few pieces already I decided the Gallery wall would make the most impact and it was actually the least expensive to create. I visited HomeGoods and HomeSense over the course of two weeks to get all my options. In the end below are the ones I went with.
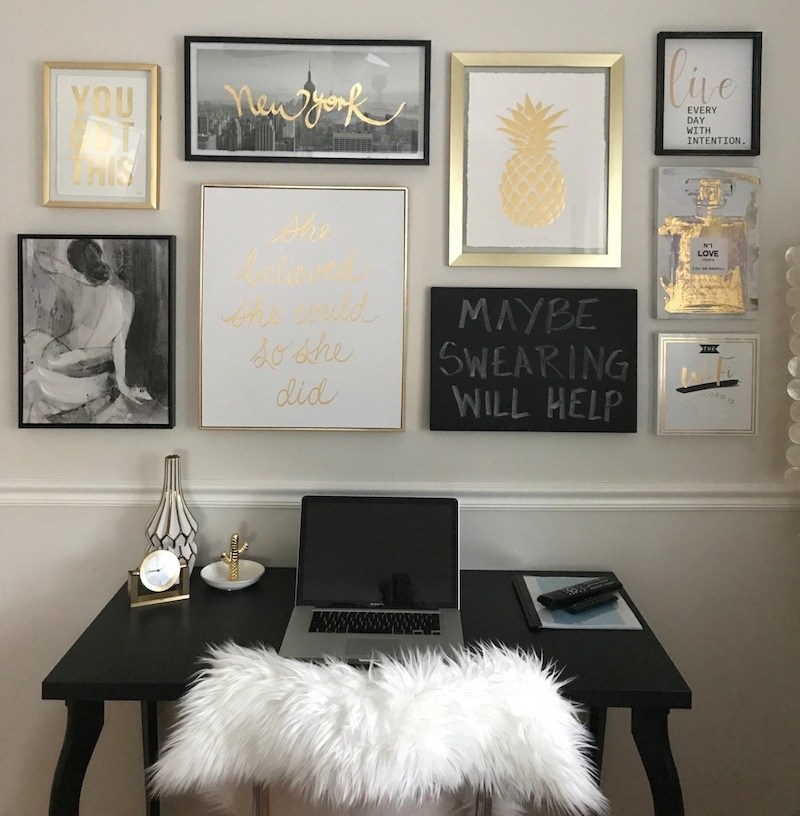
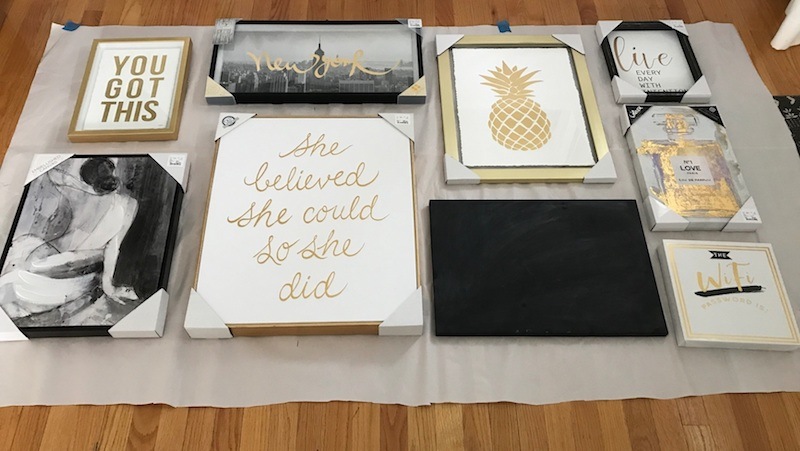
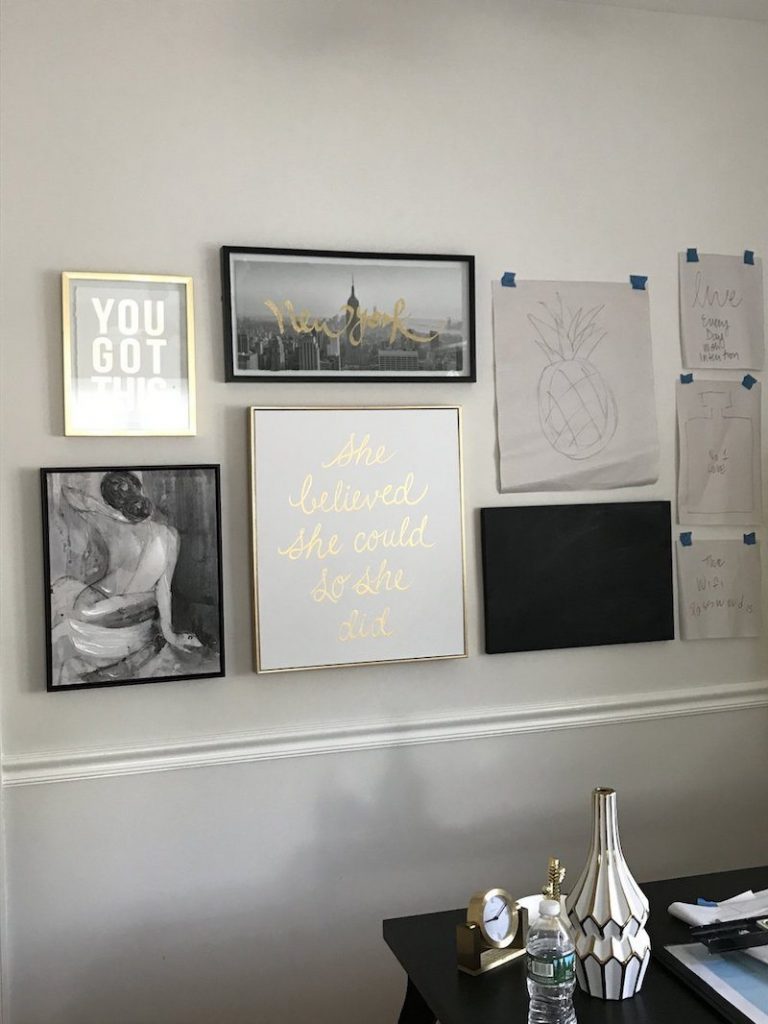
The pieces I already had were “YOU GOT THIS”, the black chalkboard and THE Wifi PASSWORD IS. The rest of the pieces were from three different HomeGoods and I spent about $100 for those.
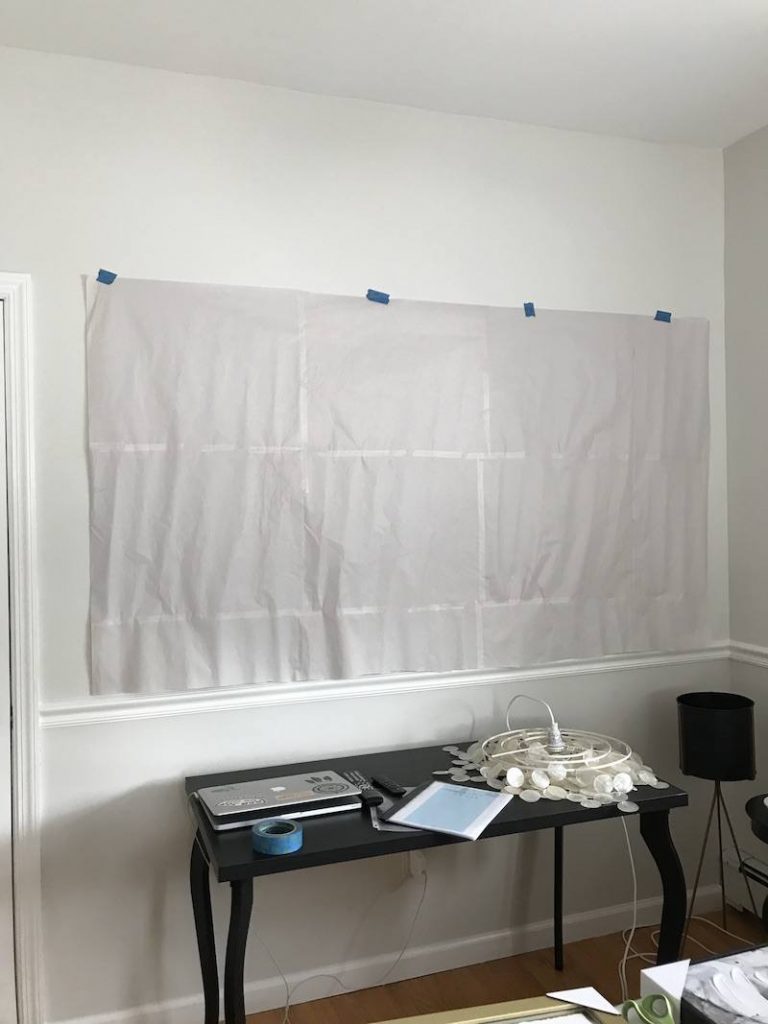
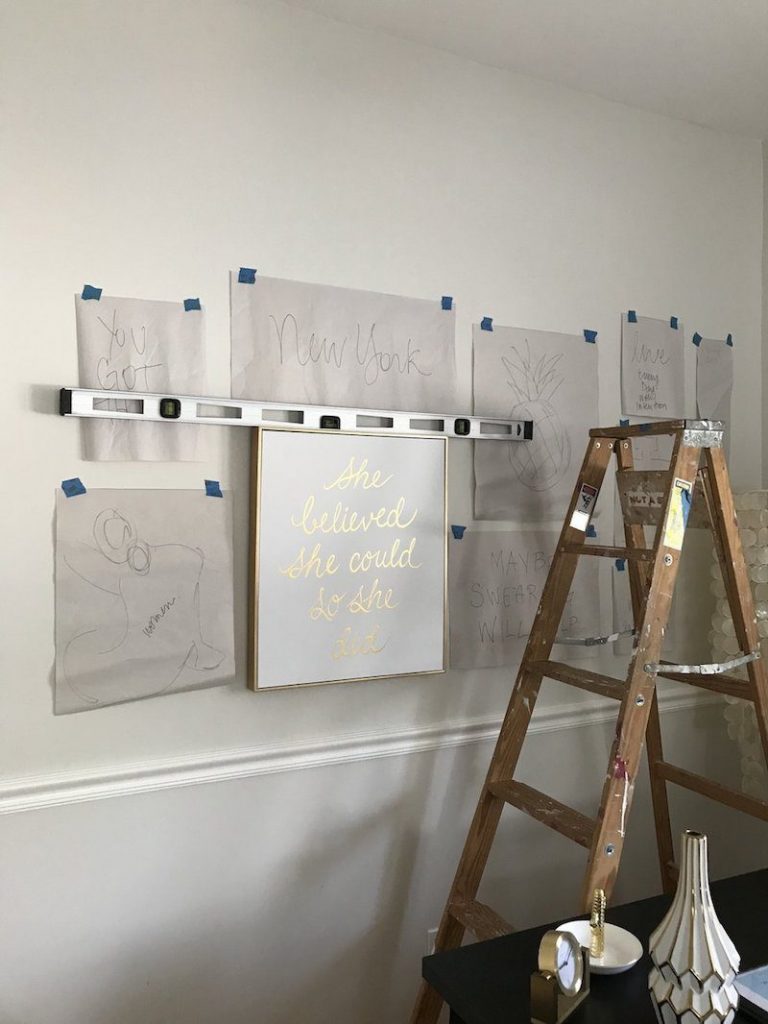
To get started I taped craft paper to the wall in the area where the art would be going as shown below. I wasn’t sure how far to the right I wanted to go and how the pieces would look once I laid them out so I extended the paper across the majority of the wall.
Then I started playing around with the pieces to get the best visual look. I noticed that I had enough of a mix of both gold and black pieces so I balanced those out by alternating the pieces with black frames. I knew that I wanted the New York piece at the top and the “She believed she could so she did” art in the center so I started with those two and worked my way out from there on each side. In the end, this was the layout I went with.
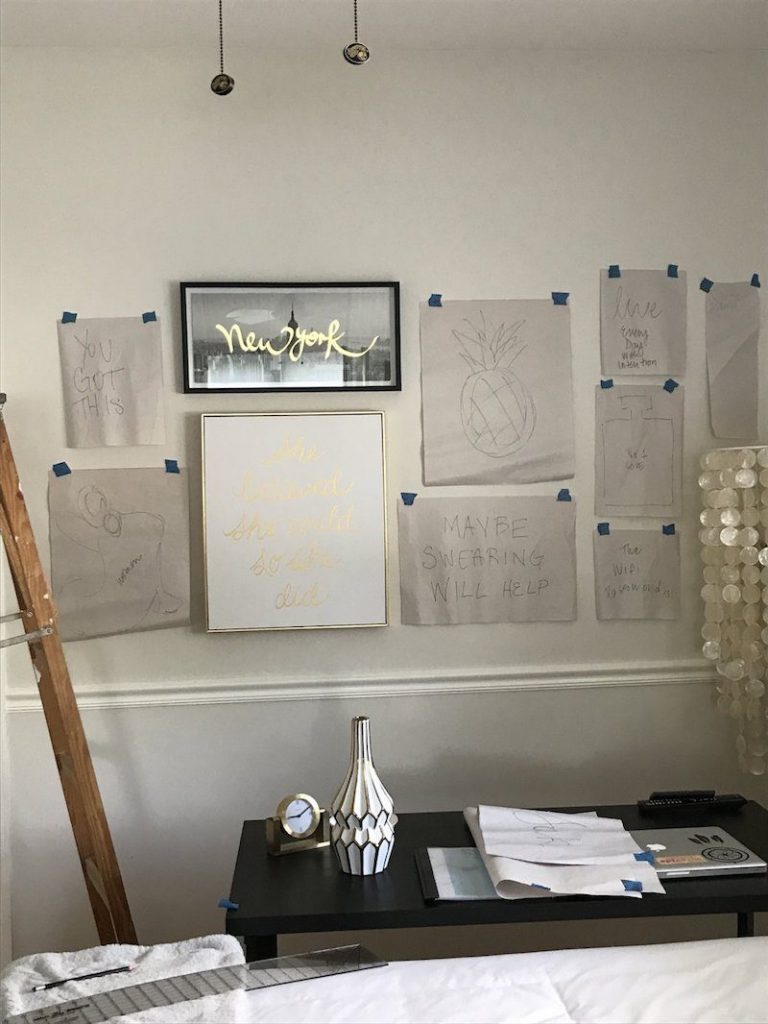
The next thing I did was trace out each piece of art on craft paper which I labeled so I could place each one on the wall to see how it looked.
Below is how the pieces looked after I taped them to the wall. The center of the gallery wall art is about 60” off the floor which is a good starting point when you are hanging art at eye level.
How To Hang the Art
Then I started with the first piece of art as you can see below and used a level to check it was even.

To hang the art I used the OOK wall hooks which I love and are so easy to use and install art with.
As you can see I just worked my way out from where I started. I tried to evenly measure and center the pieces off each other.
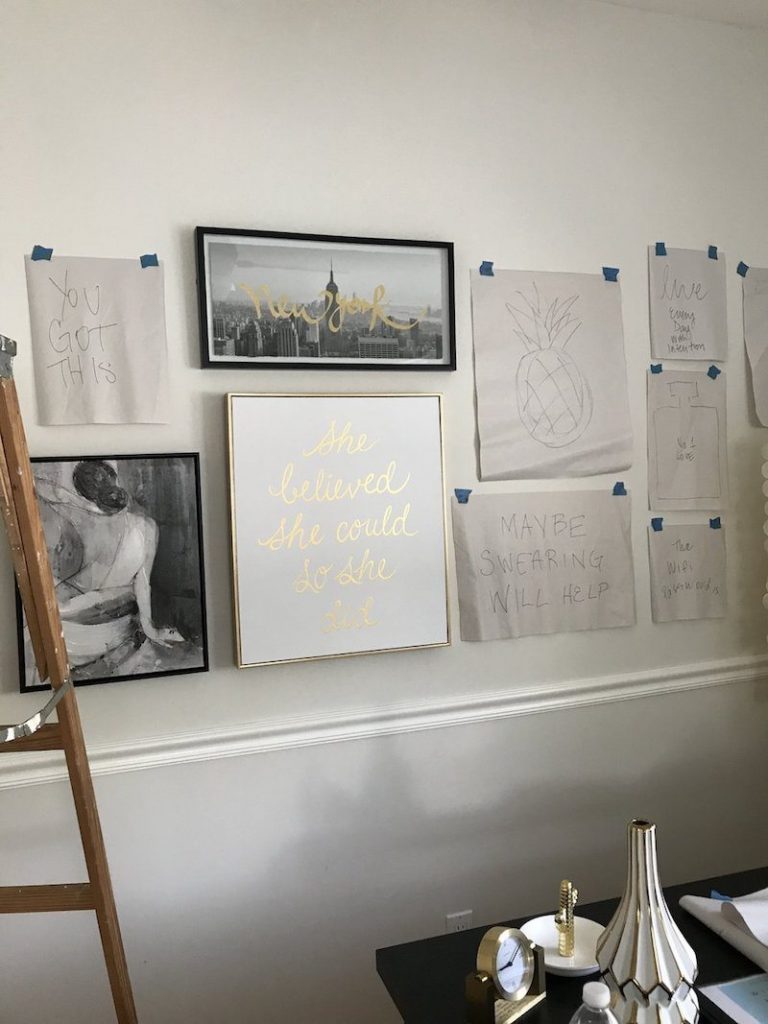
I also wanted the bottom edge of each piece to be lined up across the bottom so I used the level to double-check this as I went along.
My original thought was I may want to add a piece above the floor lamp area but decided against it.
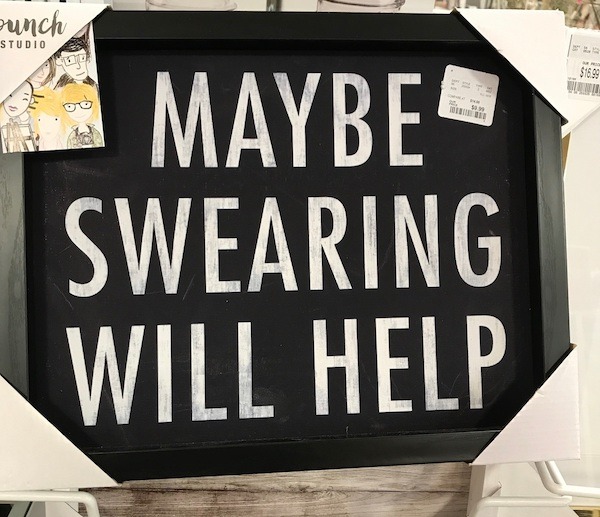
I wrote this saying on the chalkboard since sometimes I can have a bit of a potty mouth myself. It came out super cute!
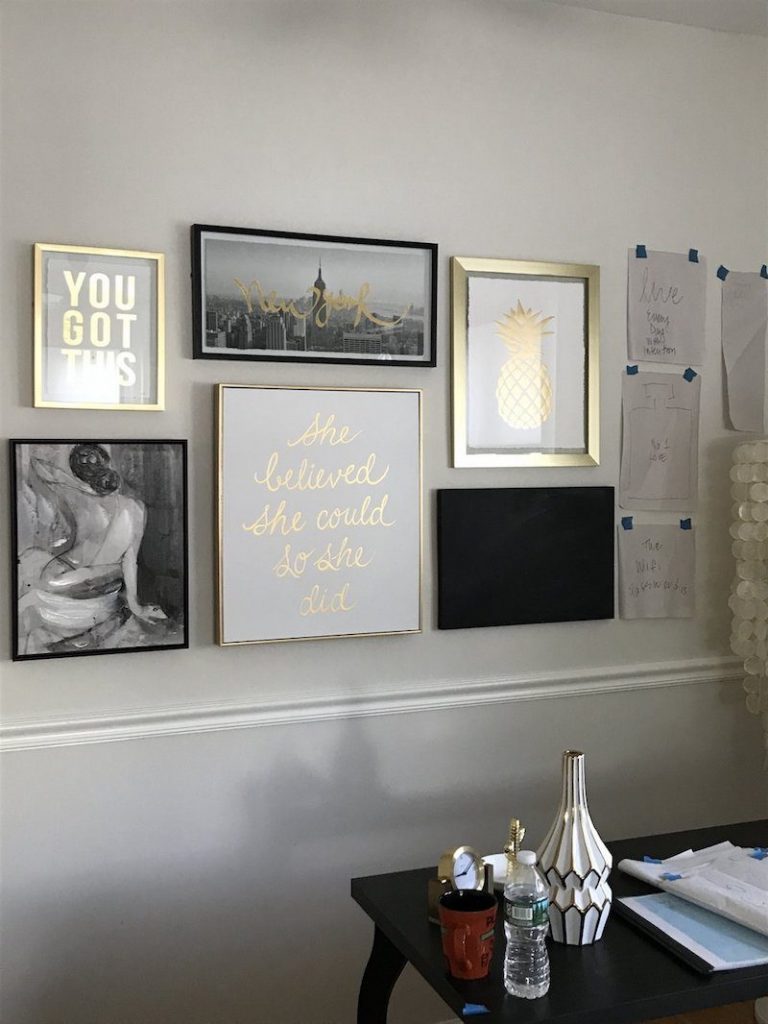
The Finished Gallery Artwork Wall

Above is the final wall gallery and I’m so happy with how it turned out!
That’s it for this weeks update of the One Room Challenge. As mentioned previously don’t forget to check out the other amazingly talented Featured Designers and guest participants here, as they transform their spaces.
At Home With Ashley | Casey Keasler | Dorsey Designs | The Farmhouse Project | Home Made by Carmona
House of Funk | House of Jade Interiors | House Seven Design | House That Lars Built | Inspired by Charm
Jana Bek | Jessica Brigham | Kelly Golightly | Murphy Deesign | The Pink Pagoda | Sarah Gunn
Sherry Hart Designs | Sugar & Cloth | Veronica Solomon | Vintage Revivals | Media BH&G | TM by ORC
Hopefully, this post will give you a bit of inspiration when adding art into your next project. DON’T BE ORDINARY or afraid to step outside your comfort zone!
Please comment and share this blog post with anyone you think will enjoy it! #sharingiscaring
As always please continue to follow the journey through our Instagram Stories and Facebook updates where we will continue to share behind the scene videos and findings.
Have an Inspired weekend everyone!
xo Nicole
#beinspired

This is coming out so beautifully, Nicole! Congratulations! And GREAT job hanging that gallery wall….A+ for perfectionism with the level line across the bottom – it’s, well, PERFECT!
Thank you so much, Janet! Have a great weekend : )) xoNicole
Thank you so much, Janet! Have a great weekend : )) xoNicole
I’m looking forward to seeing the finished space. “Maybe swearing will help” – oh how I could use that in my office!
Thank you and yes it’s a good saying for sure! xoNicole
What a gorgeous AirBnb space, Nicole! Wonderful to see your tricks and techniques for placing the artwork.
Thank you so much and glad to share : ) xoNicole